If you follow the social media accounts of any Interior Designers or Lifestyle Bloggers, I am sure you have noticed that they always have…
Katie Nino
-
-
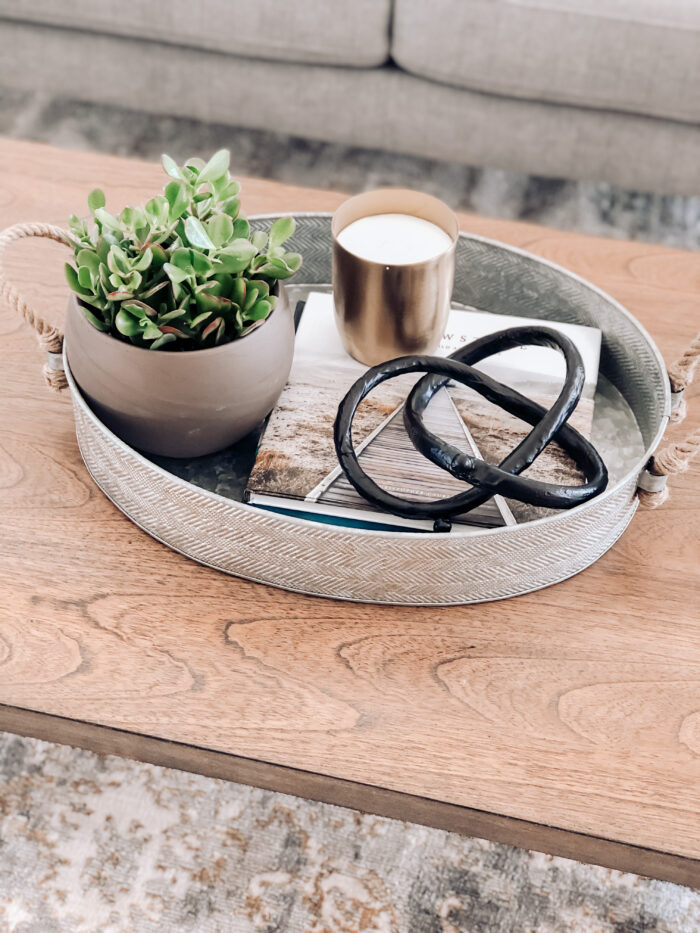
Coffee table styling is a staple design topic that puzzles many but for those who get it right, helps to create a finished feel…
-
Velvet
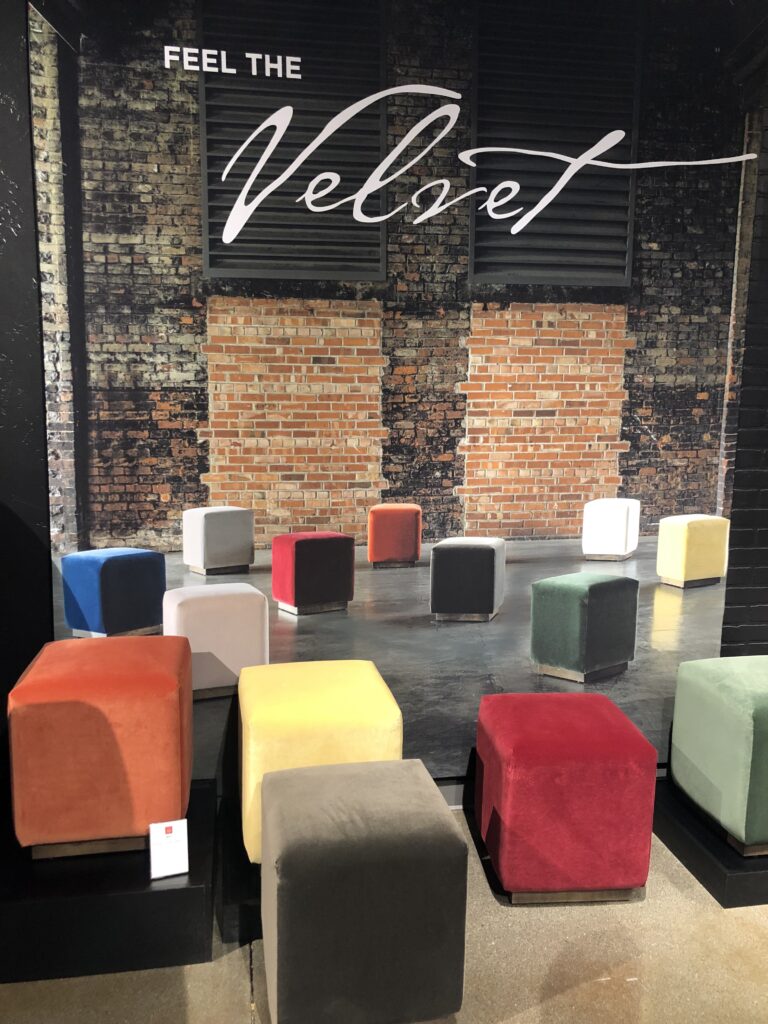
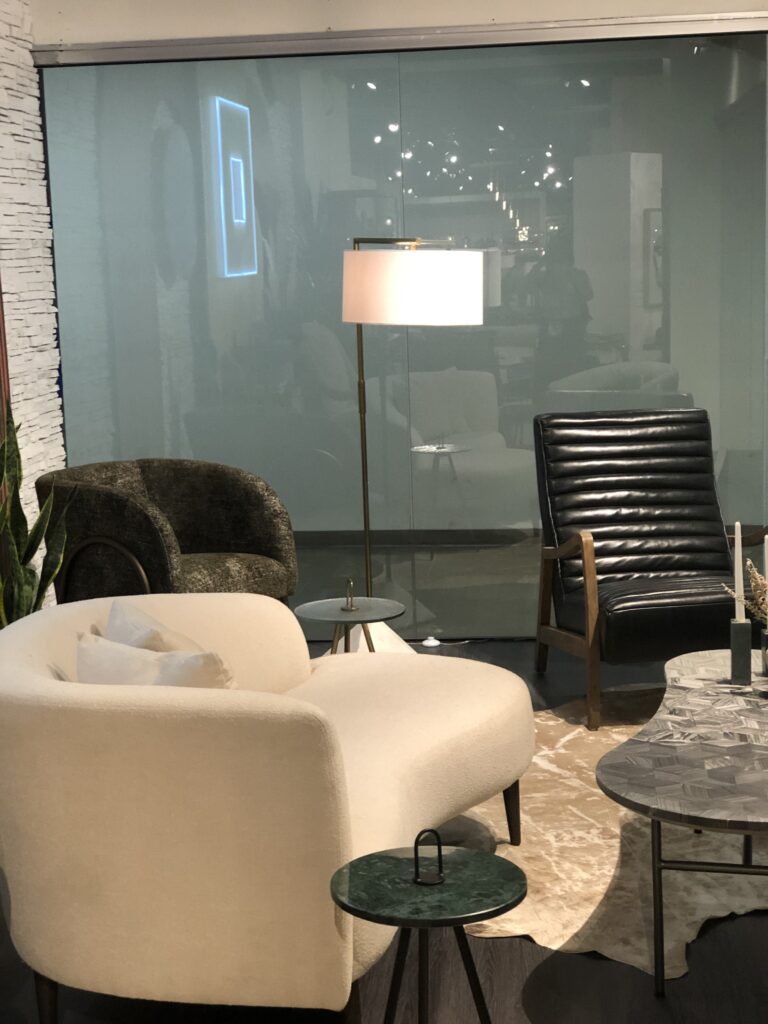
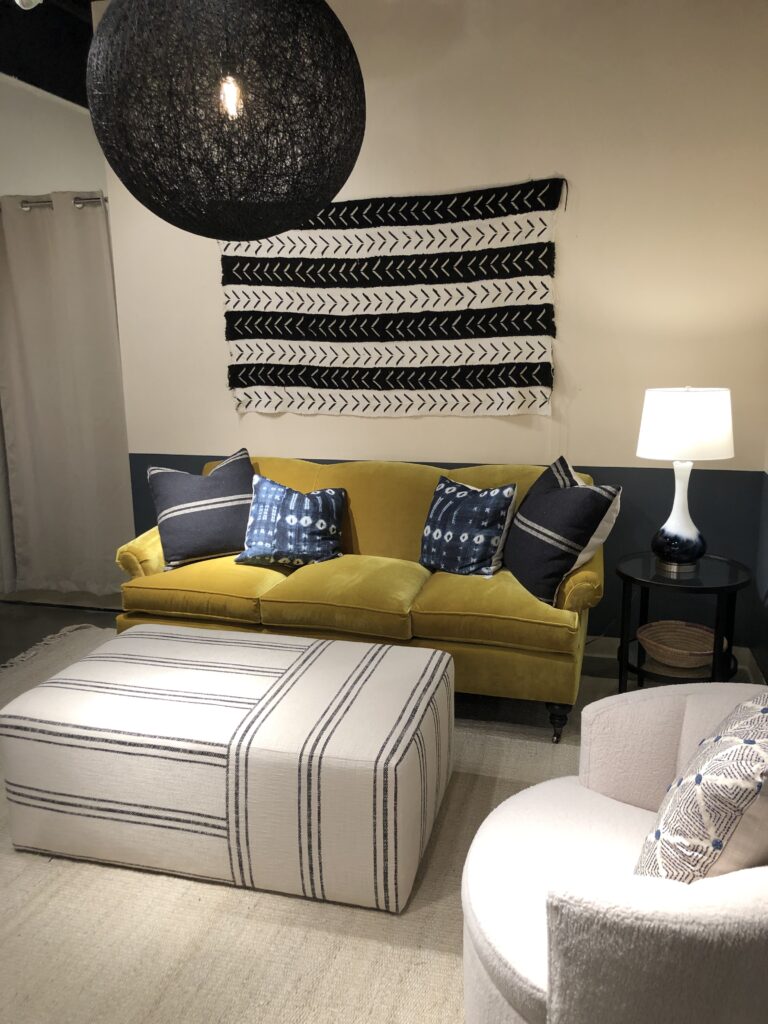
Okay first and foremost — VELVET! It is EVERYWHERE. A material that has been synonymous with luxury is now becoming mainstream. And honestly I am not mad about it. These days, you can walk into practically any home furniture store and will be overwhelmed with the amount of velvet used for several different purposes and in many different colors.
Coffee / cocktail tables
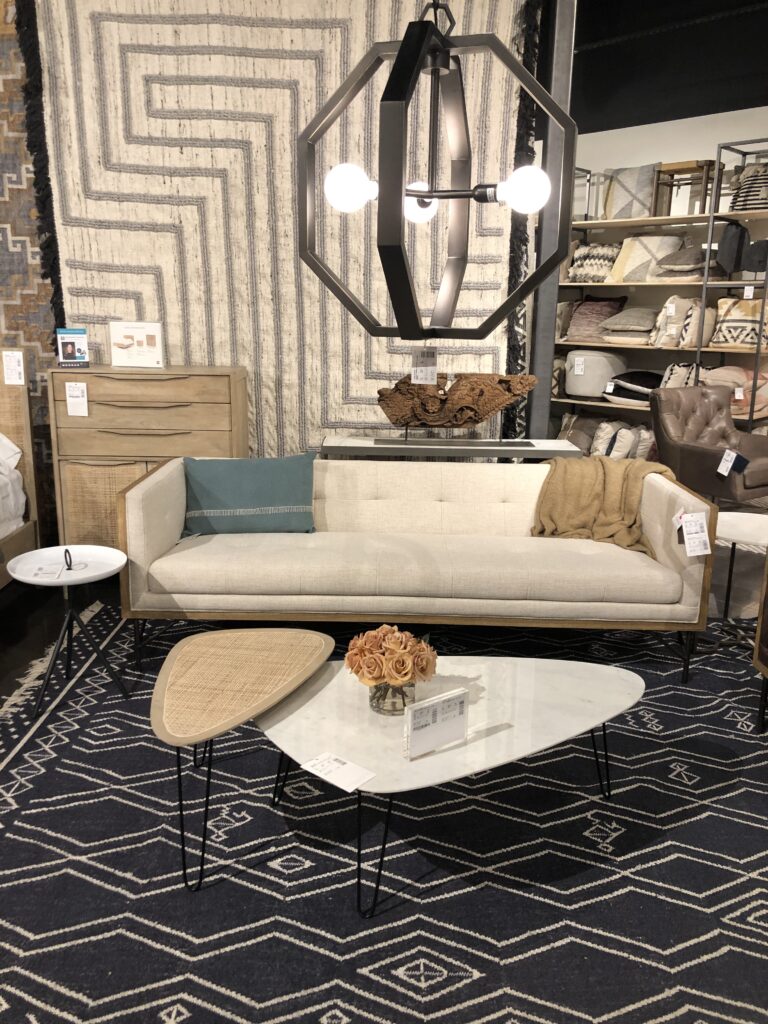
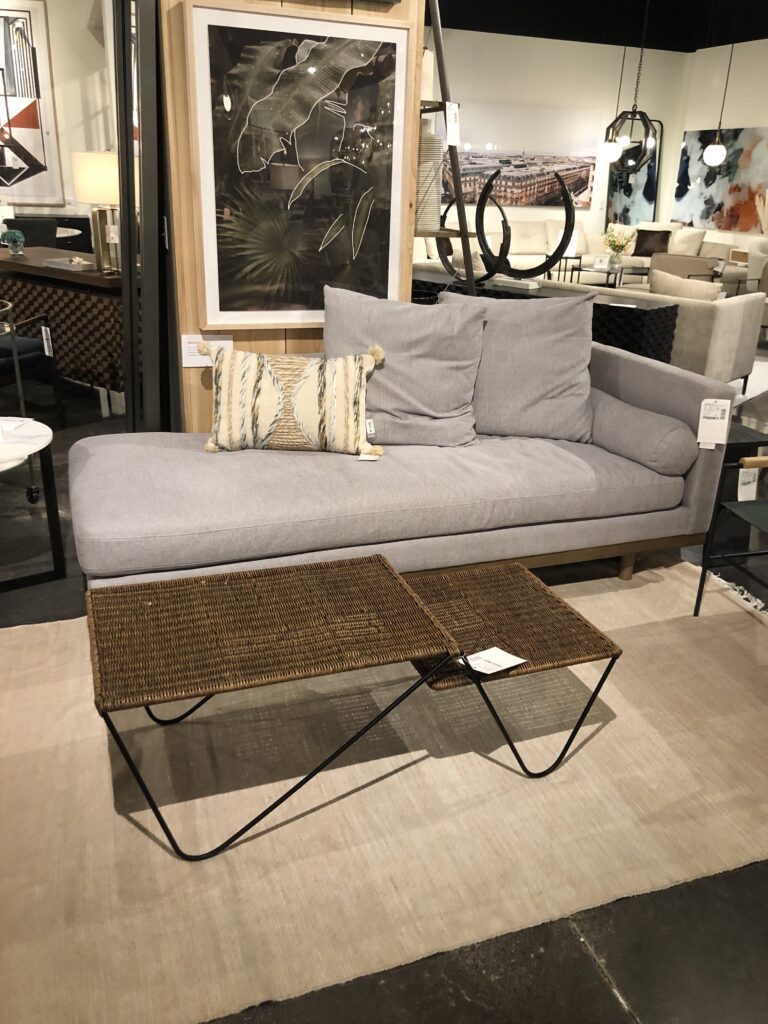
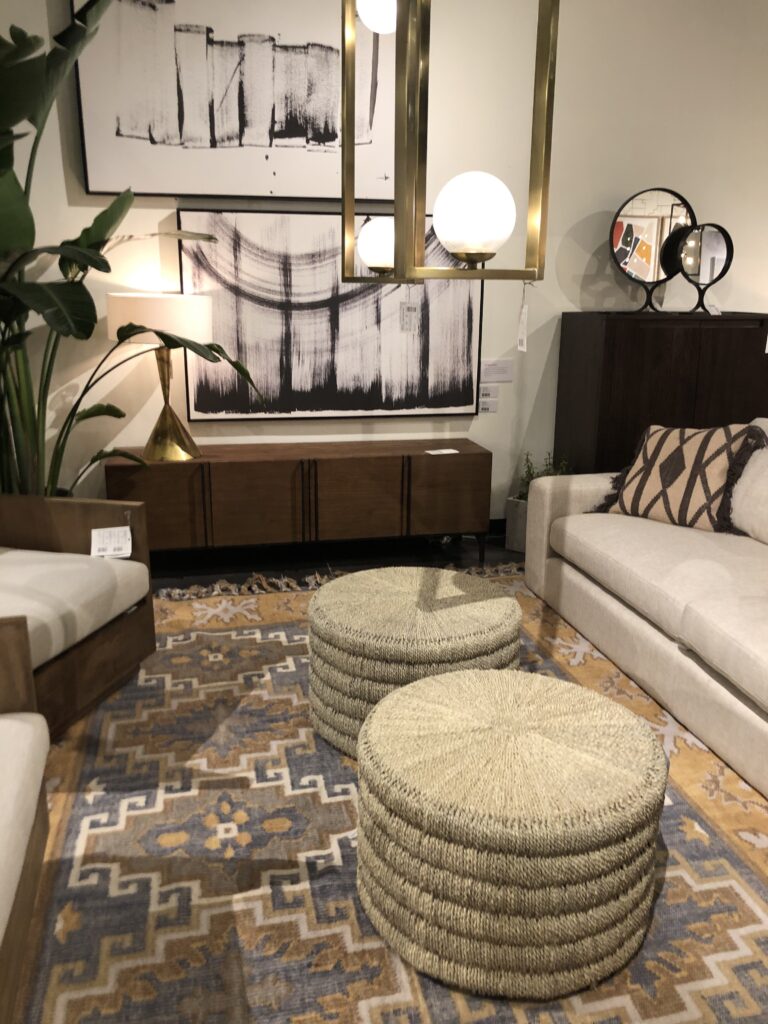
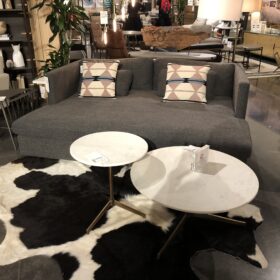
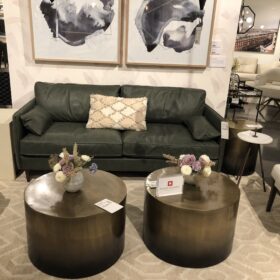
A clever and on trend way to add interest in sitting areas is with the coffee tables. There has been a push towards using two ottomans or tables instead of the historic solo table. This can be a cost effective way to add texture, color or movement into a living room.
Mustard
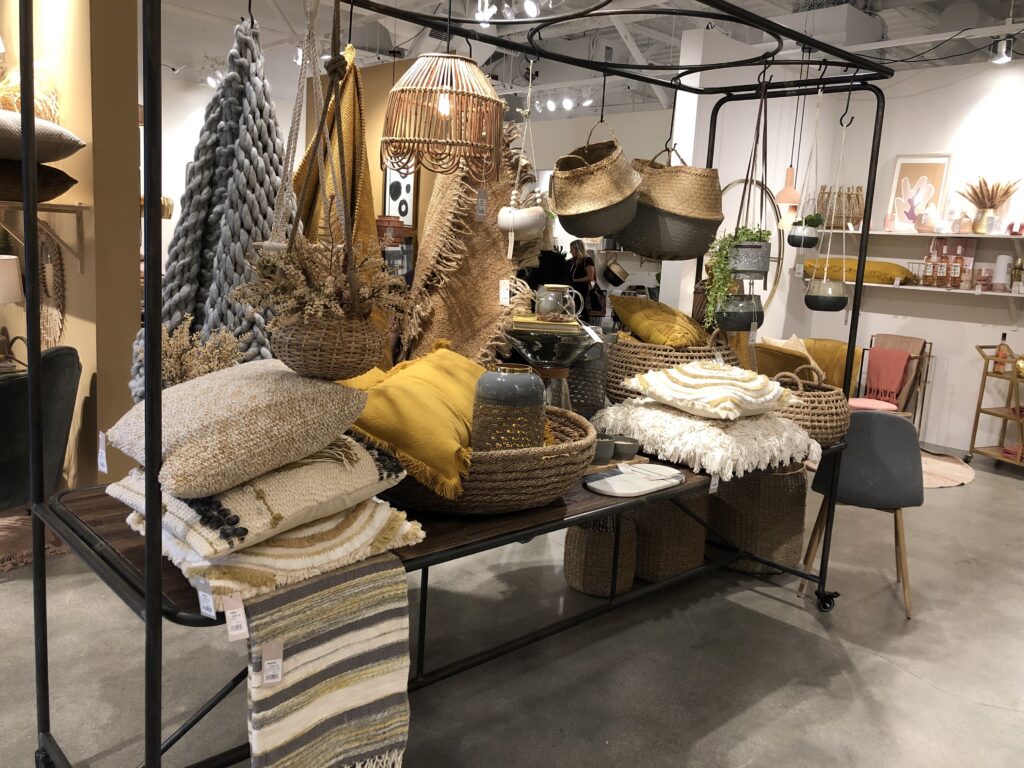
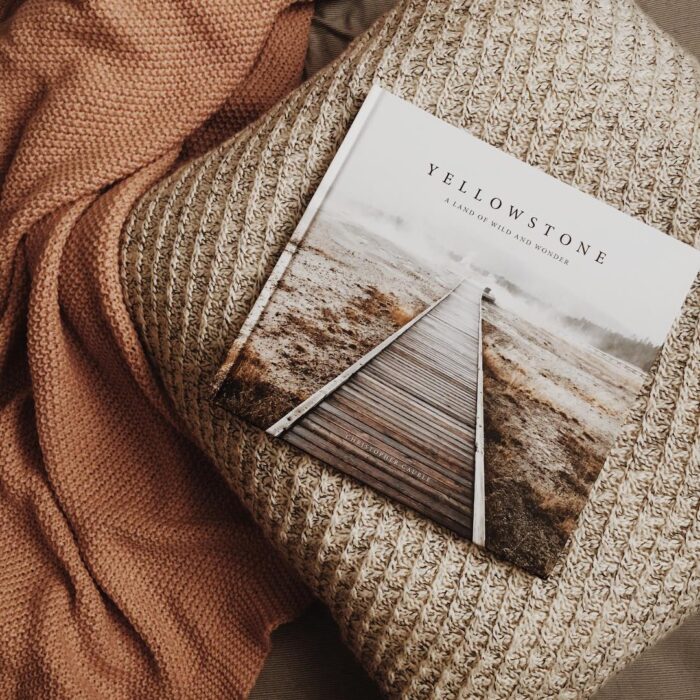
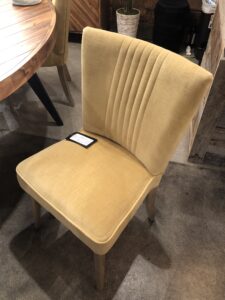
Mustard yellow has really made a name for itself in 2019. This warm shade is sunny and classy at the same time. It helps your rooms to feel brighter and offers an expensive looking pop to any space. The darker yellow hue is everywhere in the form of paint, furniture, decorative pieces, throw pillows, books and more.
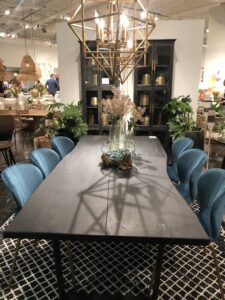
Be adventurous and revamp your living room or dining room by adding a mustard yellow couch, accent chair and even all dining room chairs. They can also be placed solely at the head of the table if you are nervous about them taking over. The oversized throw blankets below is perfect for adding this trendy to color into your home but refraining from spending too much money on a color you are afraid may not be popular forever.
Bold couch colors
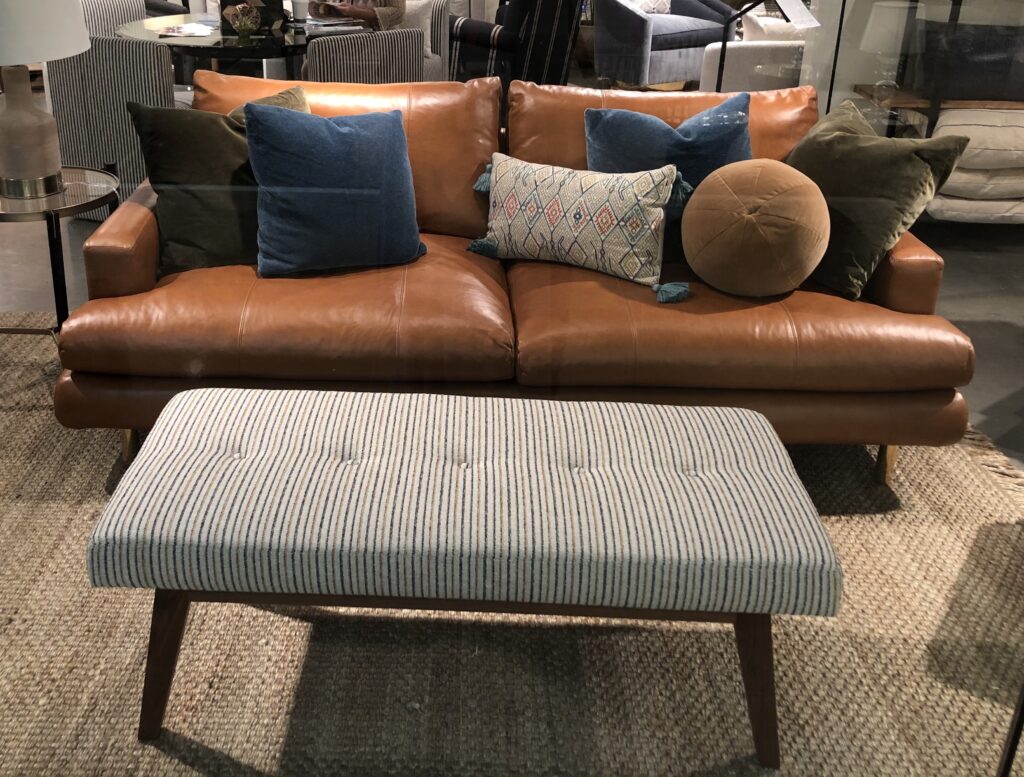
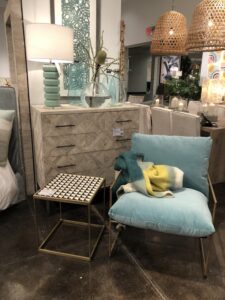
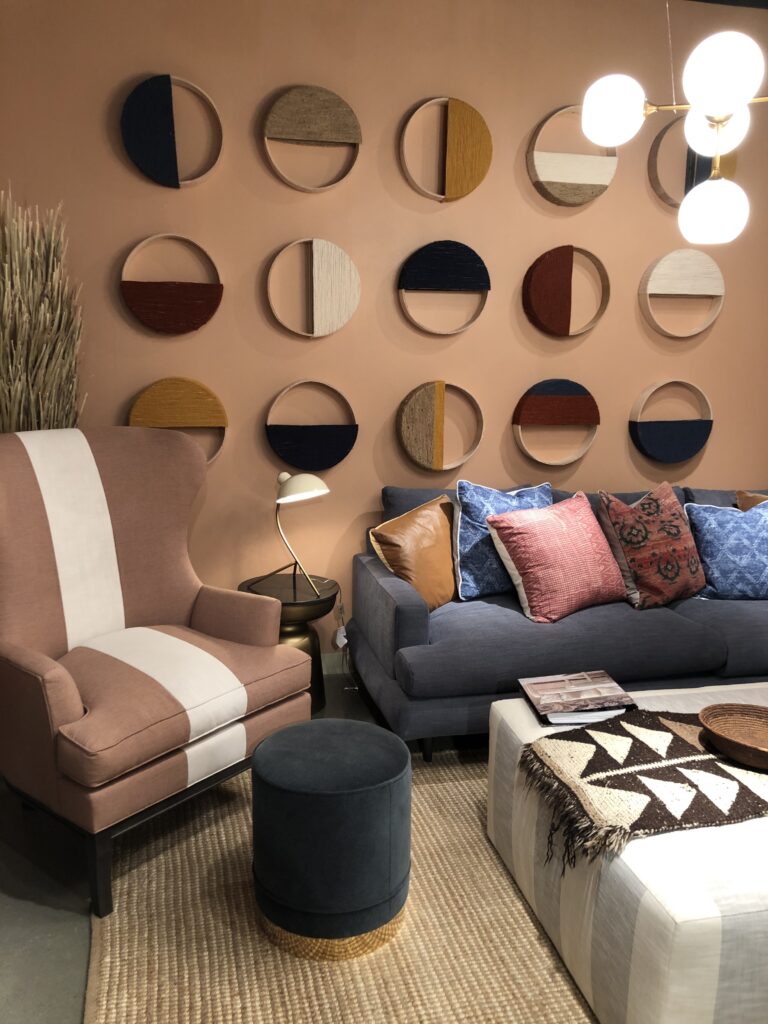
Move on over accent wall because here comes the bold colored couch. There are plenty of different ways to add color a living room but people are beginning to lean more towards bright furniture hues as opposed to paint in order to alter the ambiance of a room. Color is IN. Goodbye boring beige and grey because here comes green, blue, pink and yellow.
-
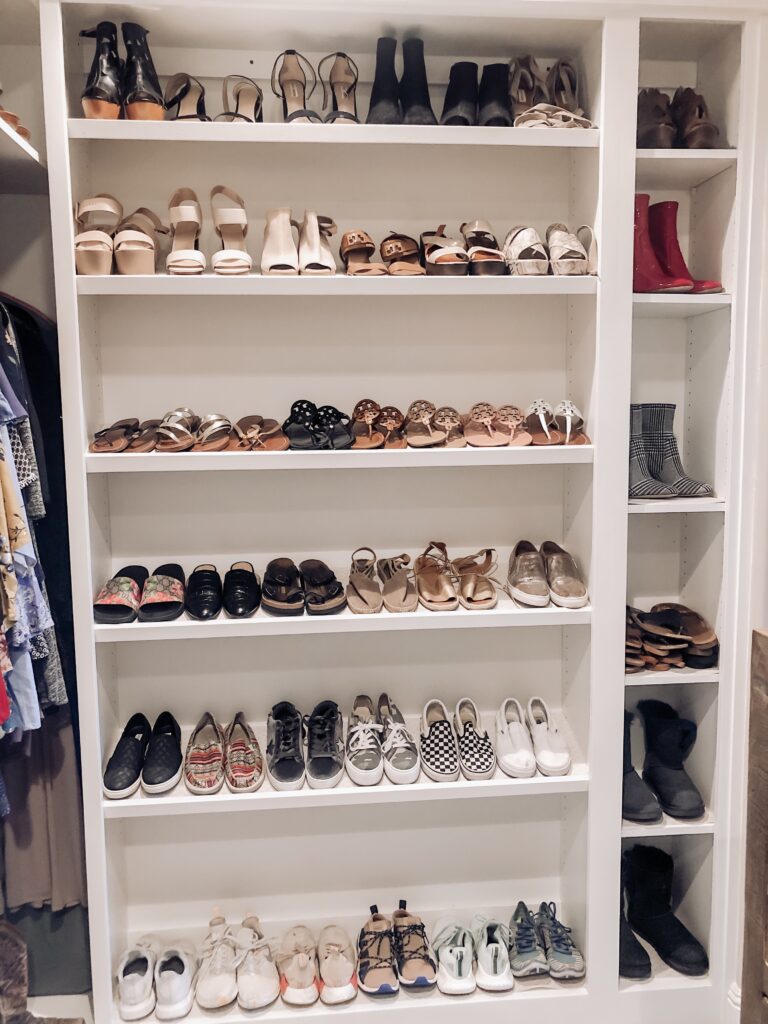
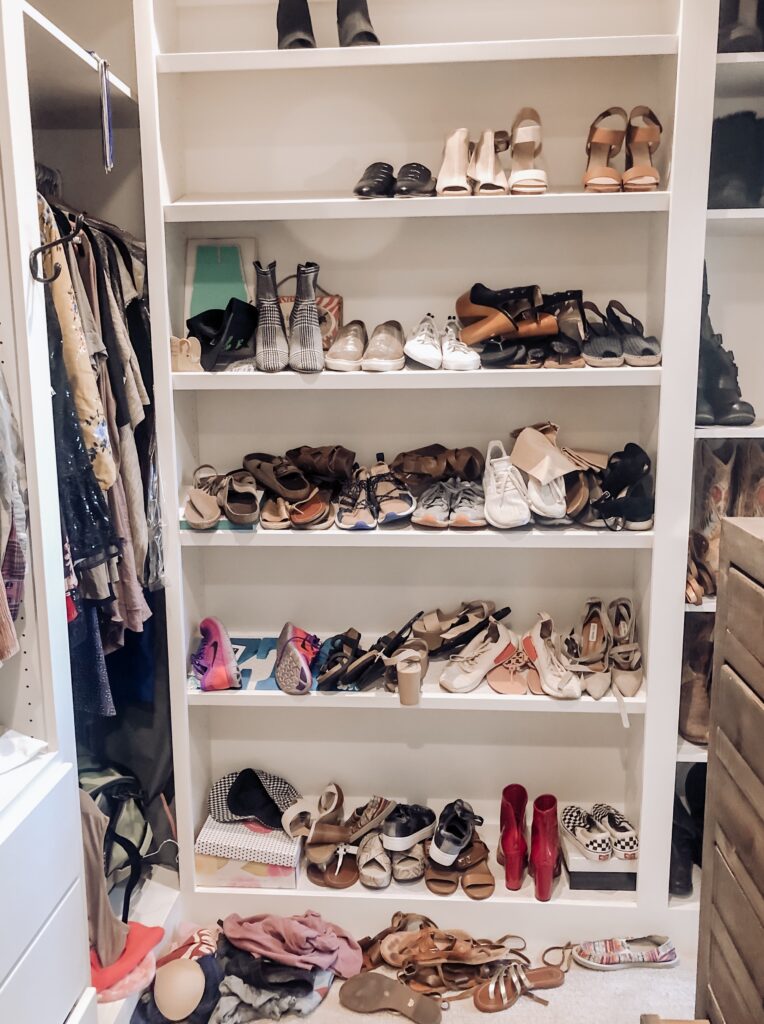
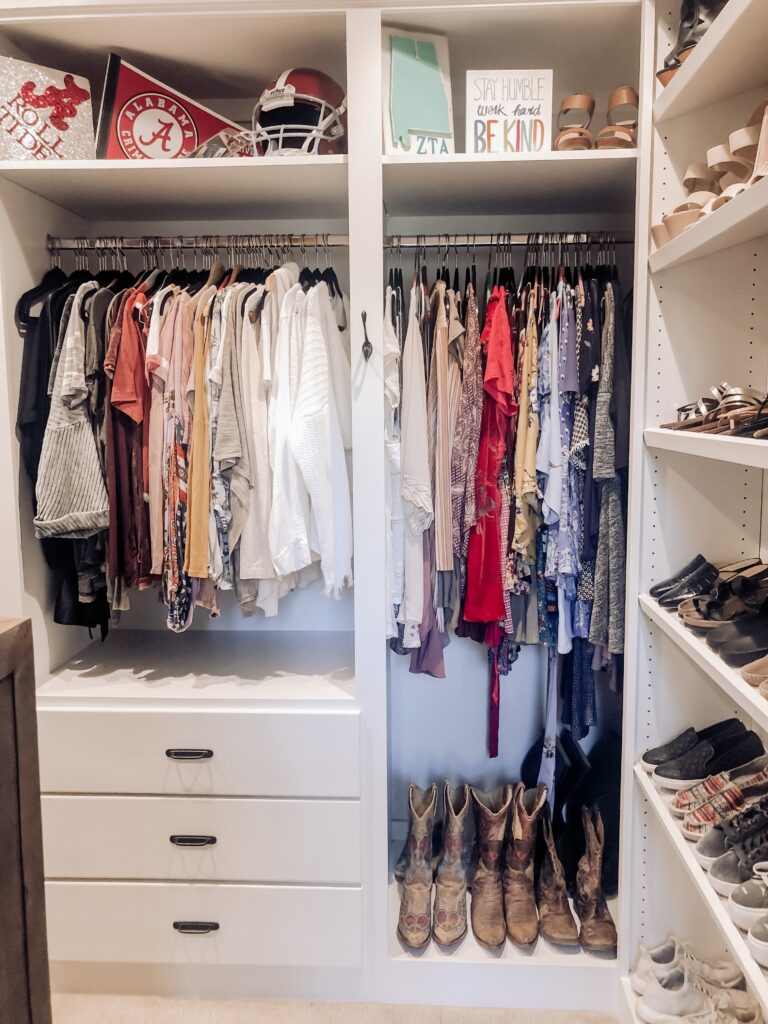
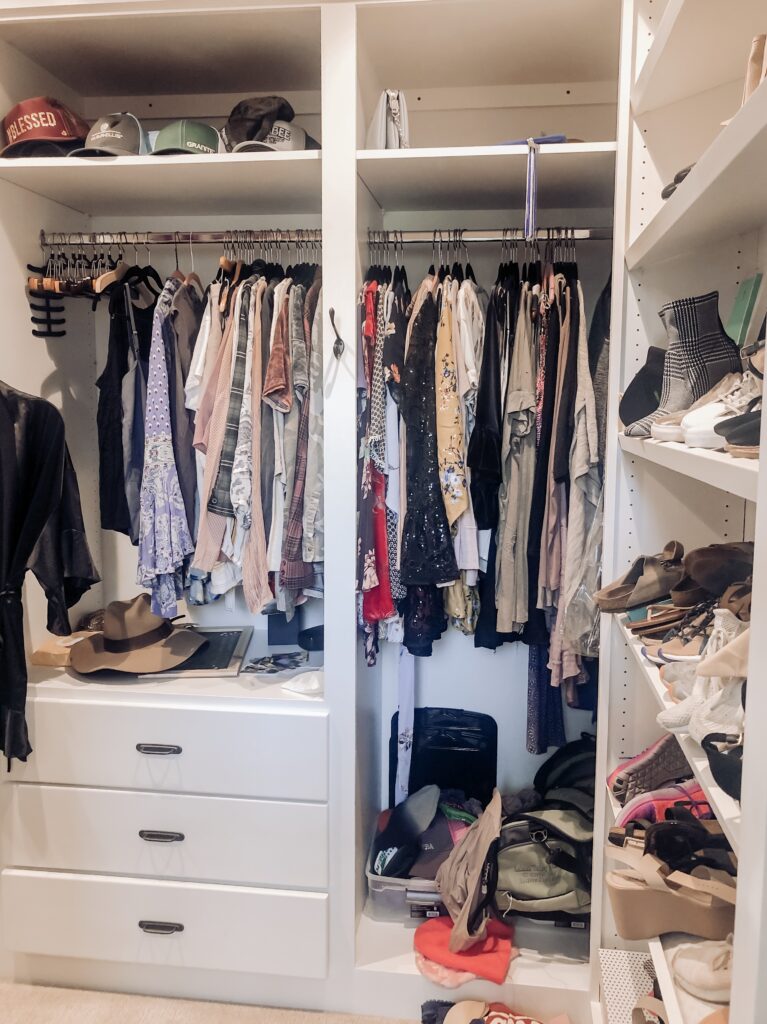
There are a few rules of thumb to keep in mind when taking your closet on as a summer project or to prep for listing your home. As you can probably imagine, closets are a big deal — for homeowners and those looking to buy as well. Which means optimizing space, keeping things neat and being able to find your favorite clothing items are important. Below are a few steps that will help you attack the process of cleaning out your closet. I implemented these when organizing the closet pictured below.
1. Get rid of everything you no longer wear, forgot you had or that no longer fits. This is the most time-consuming part, but it will save you tons of time later on. Whether you want to donate or sell these items, they need to be taken out of your closet completely in order to begin the organizing process.
2. Completely empty out and clean your closet. Getting rid of items that you no longer need in your closet should make this a less intimidating process. Now you can easily, dust, vacuum, and clean the rarely scrubbed areas of your closet. This also creates a blank canvas to help with the process of putting things where they should be. Sometimes we allow things to remain in spaces that do not make the most sense, just because that is where they have always been. By taking everything out, you can put items back in systematically.
3. Categorize your closet. Like-items need to be in the same place. This goes for drawers and hanging sections. My go-to categories for hanging clothes are dresses, shirts, jeans, sweaters/jackets. Do whatever makes sense to you. By grouping similar clothes together, it will make finding certain items much easier later on.
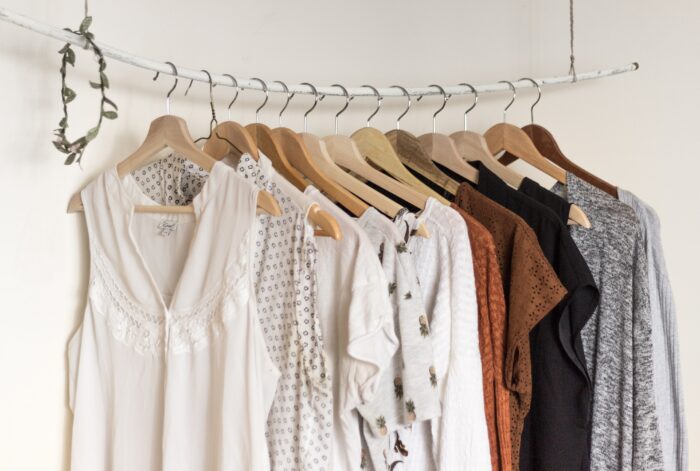
4. Color-code your wardrobe. You may think this is over the top, but it really is the most important step. There is no better way to create a closet where you can find every piece of clothing you own AND that is aesthetically pleasing. You will be surprised at how organized your closet will remain, once you set it up this way and continue to put things back in their place after you’ve worn and washed them.
5. Use coordinating hangers. That does not mean go out and buy expensive matching hangers. But if possible. Use your wooden hangers for a particular category and felt for another. Give all wire hangers back to your dry cleaner or use in the kids’ rooms. Clothes rarely stay on them, and that creates unnecessary chaos. Sturdy velvet hangers are my favorite if you are willing to make the investment. Black or white will create the cleanest look.
Reminder :: If you are cleaning up in order to prep your house for listing photos, aim to create 1/3 free space in your closet to avoid making it look small and cramped. The color coordinating of clothes and hangers will also help the closet show better during walk-throughs.
-
Whether you are aiming to make your house a forever home, or wanting to prep your property to be listed, I am here to…
-
The photos taken of your home to be marketed on the internet are a huge asset in terms of showcasing your home properly. Do…
-
One of the beautiful things about gaining experience is the inevitable fact that you will pick up hacks along the way that will hopefully save 3 valuable things -– time, energy and money! An additional perk of gaining such knowledge is the freedom to share it with others. So I am going to do just that! Although difficult to narrow down my go-to staging hacks, the 5 that I find myself using quite often are as follows:
1. PILLOW HACK
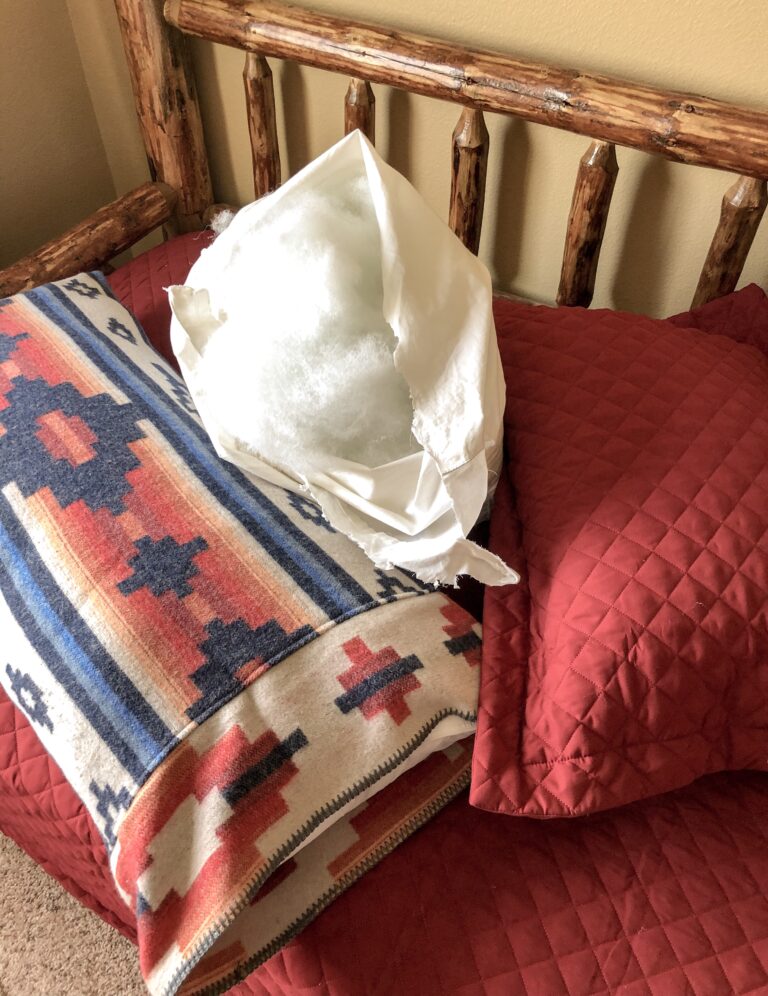
Being resourceful can only help you as a stager. If you have ever been trying to finish up a job and suddenly realized your room is almost perfect, but the pillows on the bed are not looking as full as you would have hoped, I have an easy suggestion. The filling found in cheaper pillows (often used in staging) usually contain the perfect synthetic material to stuff standard-sized shams, making they appear full and upright. Also, if you are a short a king-sized pillow, two standard pillows can easily be stuffed into the king-sized sham. The photo below is an example of both hacks.
2. USING BLACK SPRAY PAINT & RUST-OLEUM ON THE FIREPLACE
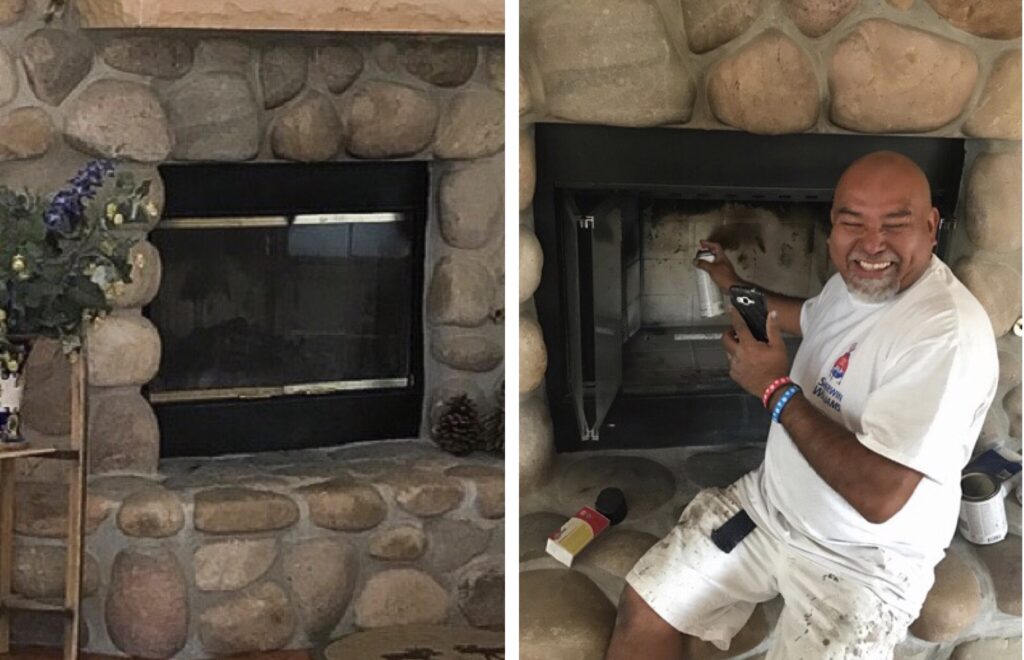
As I have said several times in the past, when staging a home you want to give potential buyers as few objections as possible. Meaning if the fireplace looks “used” and covered with soot, this can cause a distraction and take away from the beauty of the house. By simply applying a coat of high-heat black spray paint to the interior of the fireplace, it will eliminate the fireplace as a whole, from being a possible eyesore. You can also use Rust-Oleum on the gold trim that often lines old fireplaces. By doing these two things, you will give a main focal piece in your home a much-needed refresh.
3. LEVEL LASER
Any stager or homeowner who has had to hang heavy artwork or mirrors, alone, towards the end of the day, knows how stressful this process can be. Especially if you have multiple pieces you are trying to hang side-by-side in a straight line. If any of this is striking a chord with you, you NEED an auto-leveling line laser. A couple even have built in stud-sensors in case you are hanging very heavy furniture and are in need of a little extra security. This BLACK+DECKER BullsEye Auto-Leveling Laser Level is less than $30 at Home Depot.

4. CREATIVE LIGHTING
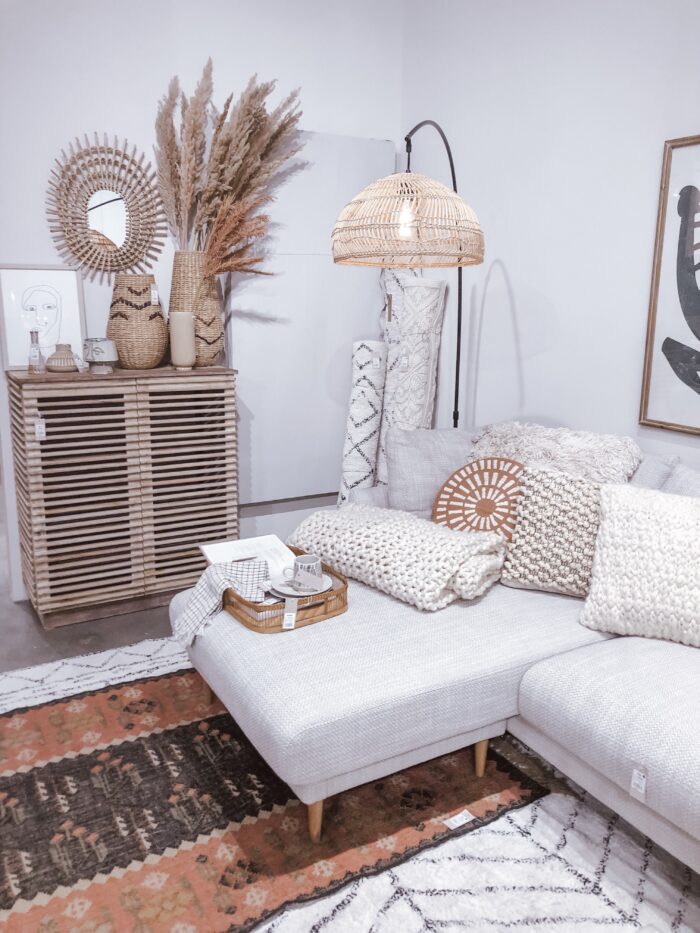
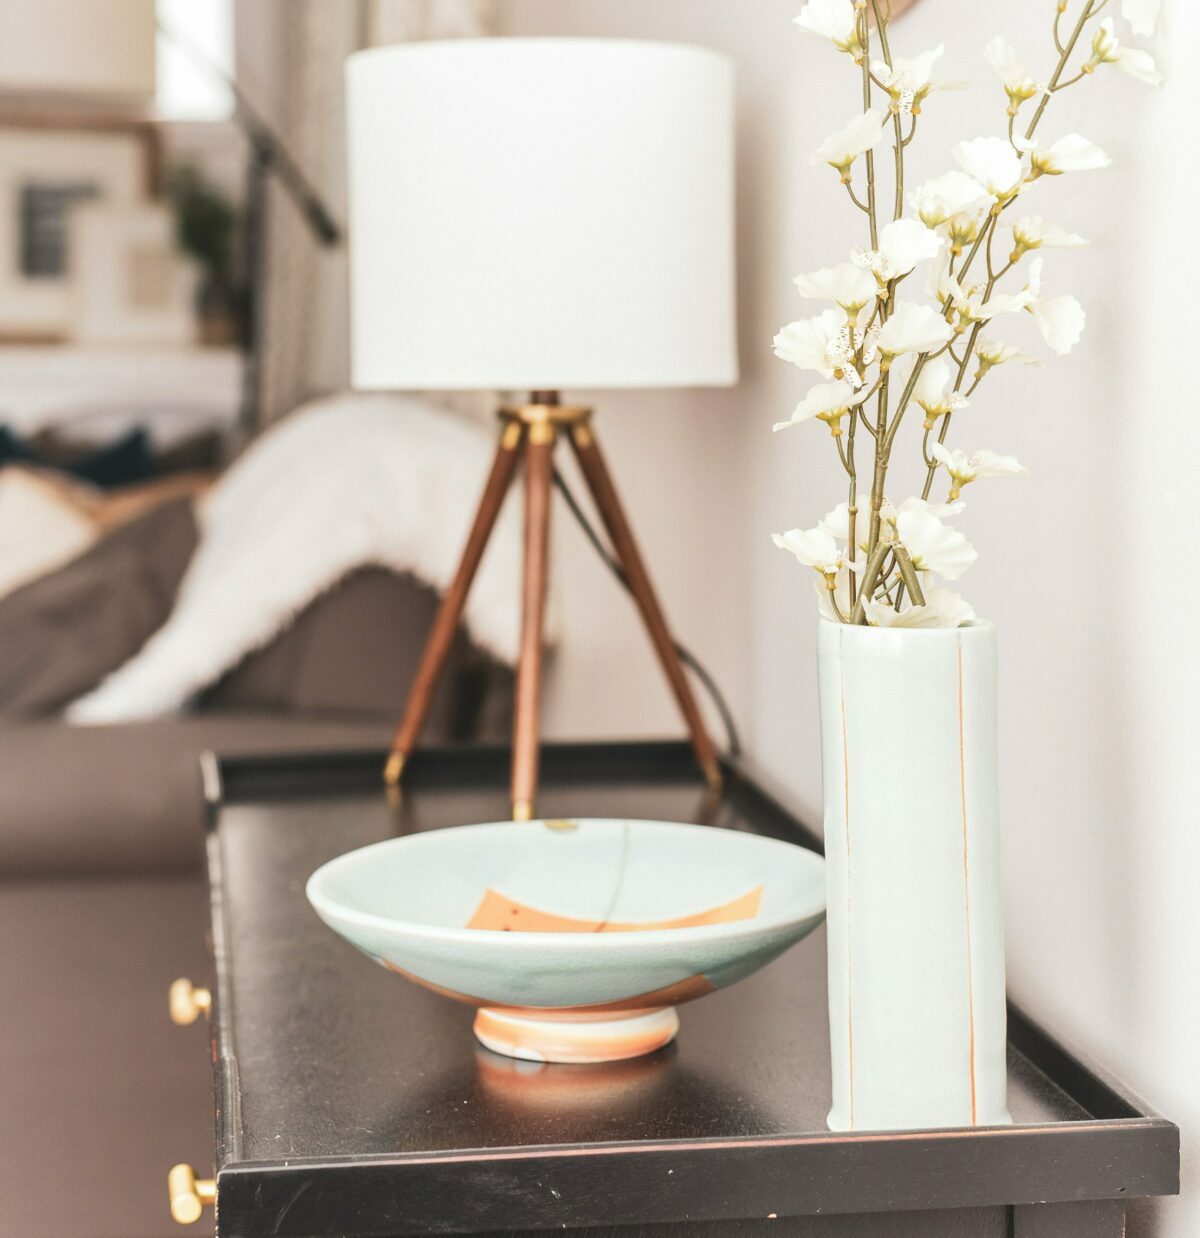
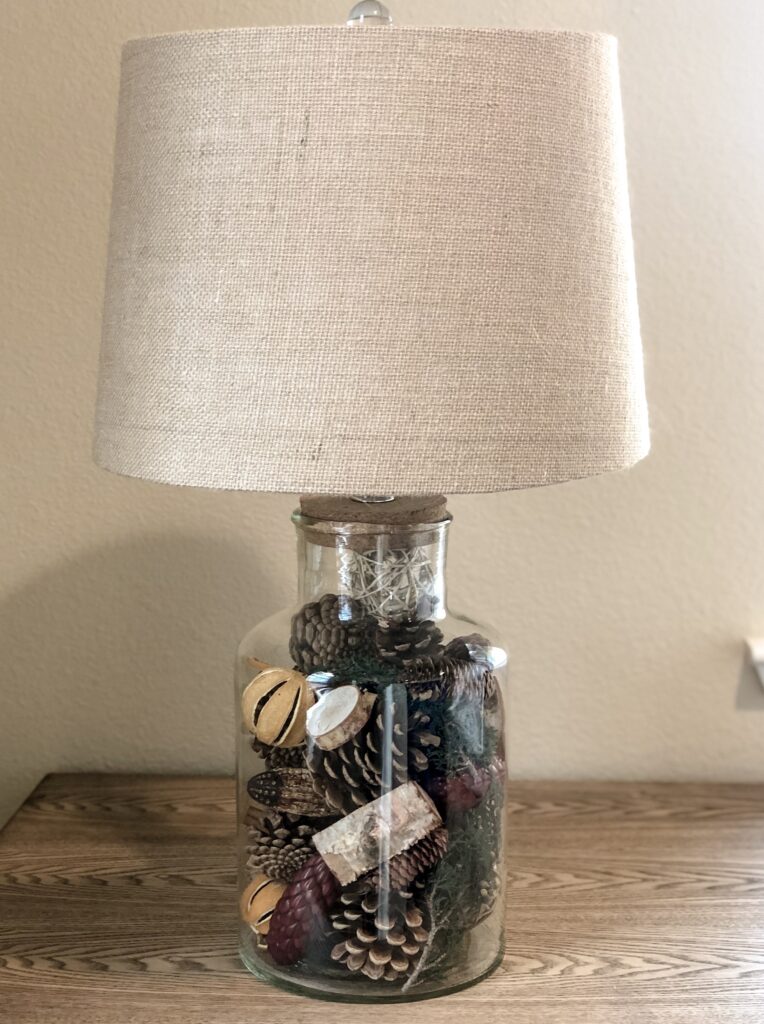
Why make lighting boring when it can be bold. In several situations, funky lighting has added so much interest to a room or vignette.
5. STEAMER
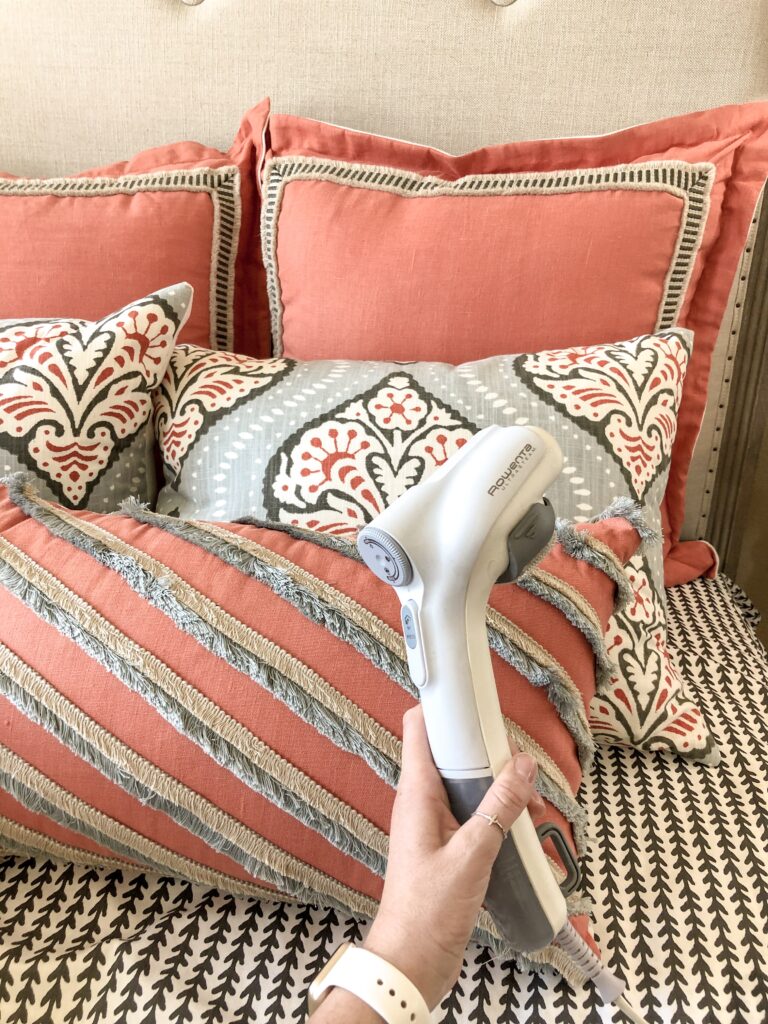
Always. Keep. A. Steamer. In. Your. Tool. Kit. I am telling you! There is nothing that helps create a more polished look than non-wrinkly bedding, pillows, curtains, etc. Easy, fool-proof and hugely helpful for any occasion when you are aiming to impress.
